
Setting up Roku Pay web services
Set up Roku Pay API keys, push notifications, and IP address allow lists
Roku Pay includes web services that developers integrate into their backend system for validating, refunding, and canceling transactions related to subscriptions and one-time purchases. In addition to pulling transactions via the Roku Pay web services, publishers can receive the transactions in real-time via push notifications. These features enable publishers to implement an entitlement service for checking whether to grant users access, issue refunds or service credits, and cancel subscriptions.
You can access the Roku Pay Web Services page from the left-hand sidebar menu in the Developer Dashboard. The page includes individual tabs for you to manage the following:
Roku Pay API Key
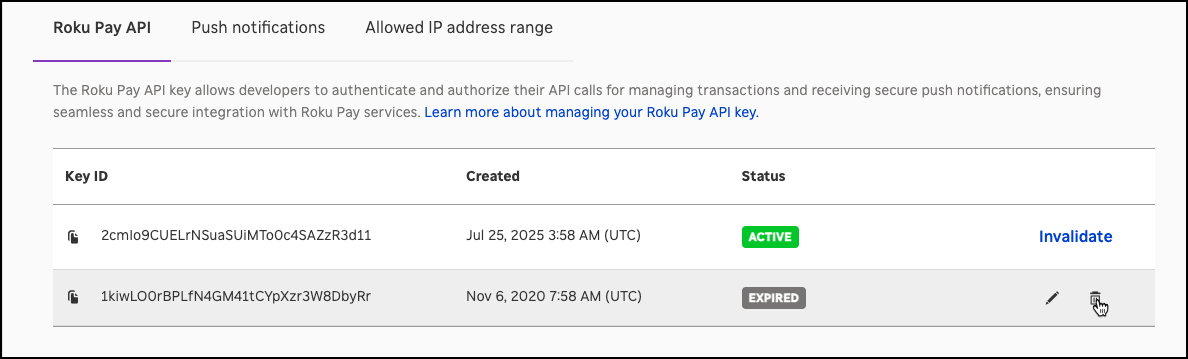
Your Roku Pay API key enables you to send Roku Pay web service API calls and receive push notifications. Record and secure your key.
Rotating API keys
Developers can periodically rotate their Roku Pay API Key as a security best practice or reset it immediately if it becomes compromised. The Roku Pay API Key settings include an Invalidate button that generates a new Roku Pay API Key and lets developers either immediately invalidate their old one (in case it has been compromised) or schedule its invalidation for a later date (for regular security maintenance). Scheduling the invalidation of the old API key provides developers with a grace period to implement the new one and thus avoid any downtime.
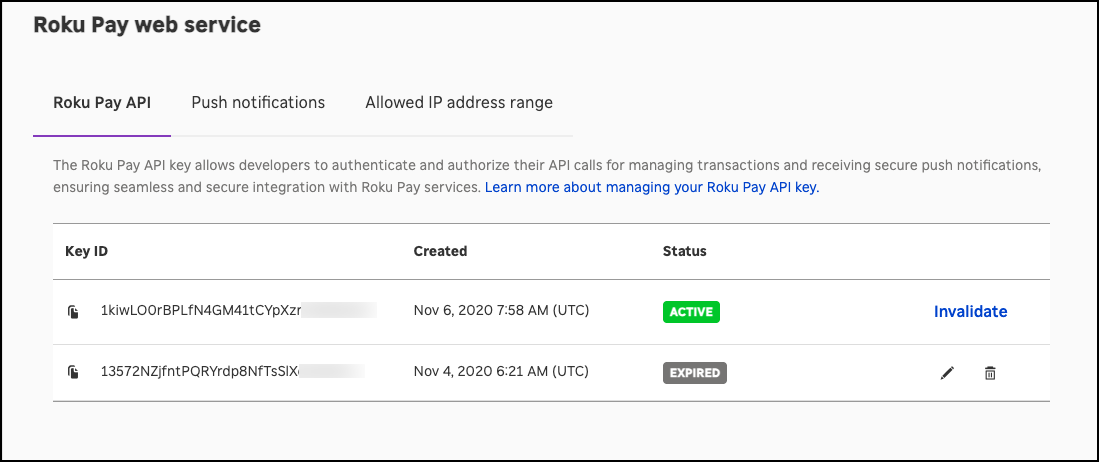
Developers may only have a maximum of two Roku Pay API Keys at a time: one active and one expired or expiring.
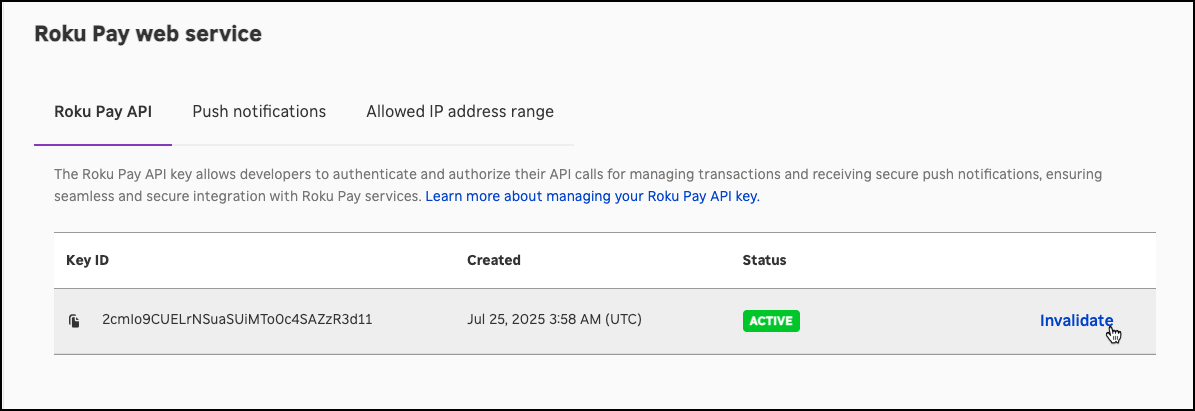
To generate a new Roku Pay API Key, follow these steps:
-
On the current active API key, click Invalidate. An API key cannot be invalidated if there is already another one in the expired/expiring state.
-
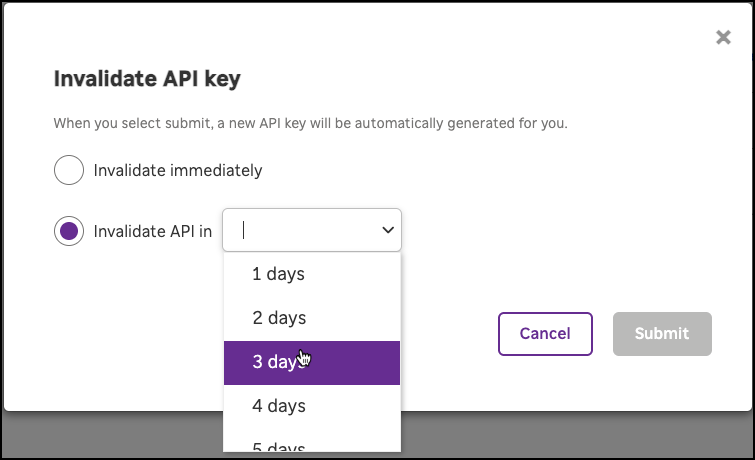
Select whether to invalidate the API key immediately or at a later date.
-
Click Invalidate Immediately to generate a new API key and expire the current one. An expired key cannot be used for making Roku Pay Web Service API calls.
-
Click Invalidate in Days to generate a new API key and schedule the expiration of the current one in 1–30 days. The default is 1 day.
-
-
Click Submit.
-
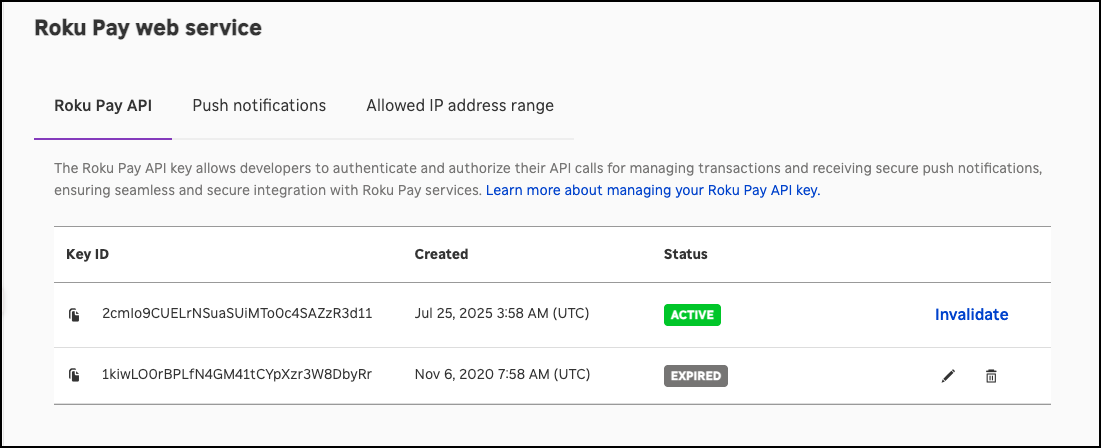
The new API key is generated and has a status of Active. The status of the current API key changes to Expired (if invalidated immediately) or Expiring on timestamp (if invalidation is scheduled for a later date).
Changing the grace period for an expiring API key
To change the grace period for invalidating an expiring API key, click Edit on the Expiring API key, change the number of days in which it will be invalidated, and then click Submit.
Reactivating an expired API key
To reactivate an expired API key, click Edit on the Expired API key, schedule its expiration in 1–365 days, and then click Submit.
Deleting an expired or expiring API key
To permanently delete an expired or expiring API key, follow these steps:
-
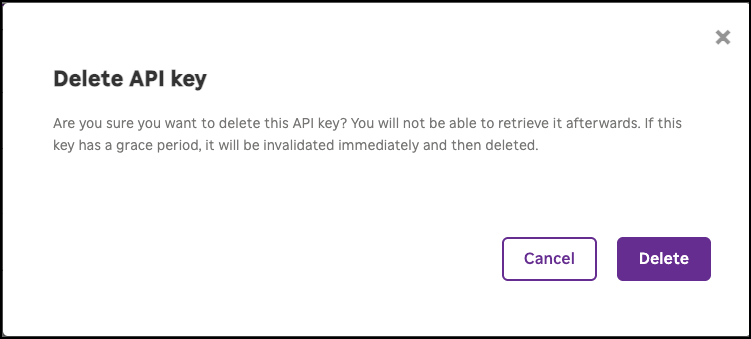
Click Delete on the Expired/Expiring API key.
-
Click Delete in the confirmation dialog. Once an API key has been deleted, it can no longer be retrieved or used again.
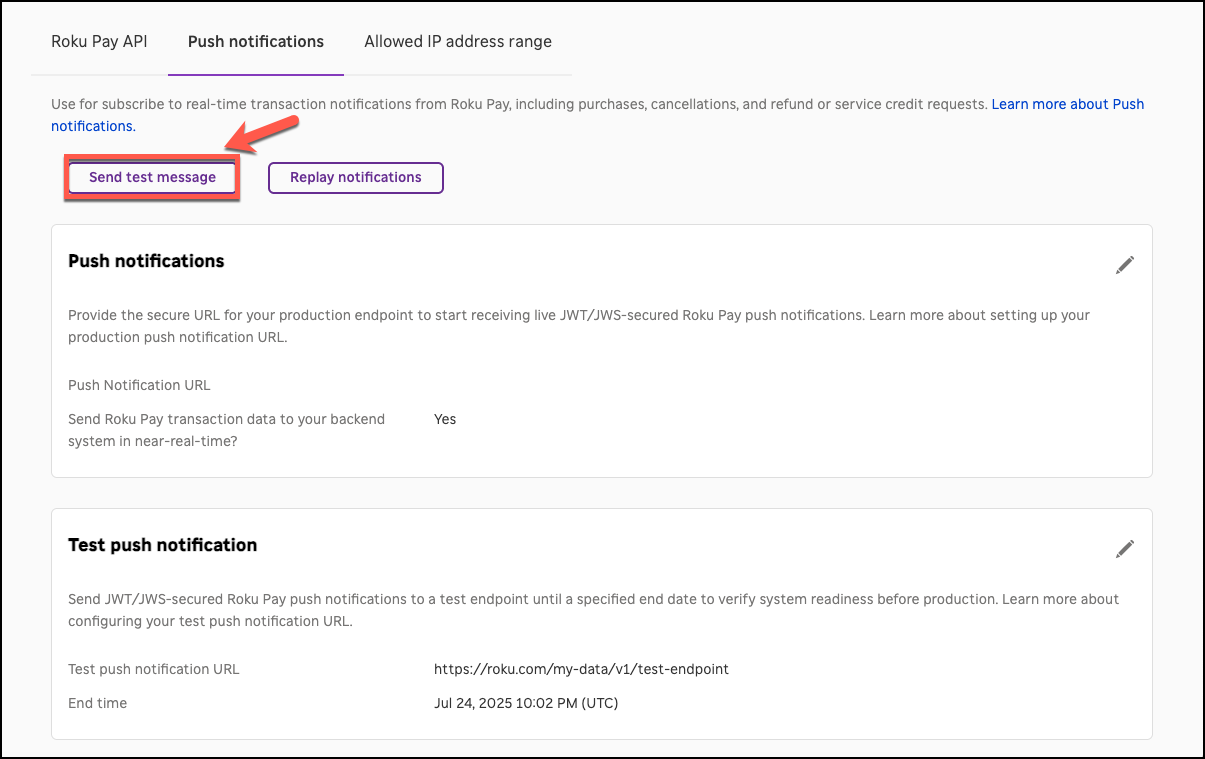
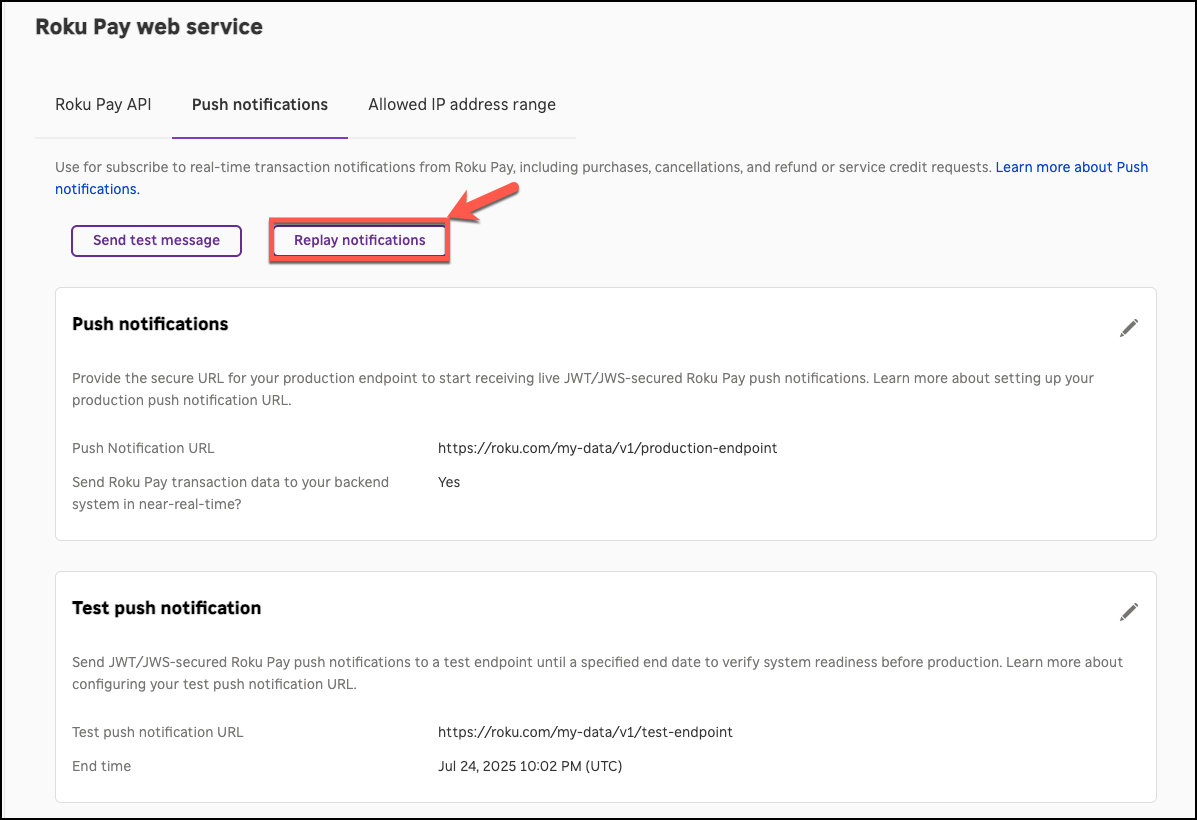
Push notifications
Publishers can subscribe to transaction notification messages from Roku Pay. This enables the publisher to receive purchases, cancellations, and refund/service credit requests in real-time and update their backend system accordingly.

Roku sends push notification messages using JWT signature authentication. This enables publishers to verify that the push notification messages received by their endpoint originated from Roku.
As of February 1, 2024, all developer accounts must use JWT signature authentication to receive Roku Pay push notifications. Apps cannot revert to receiving unauthenticated messages.
To receive JWT/JWS-secured push notifications, follow these steps:
-
Read the Roku Pay Push Notification JWT authentication guide. This document explains how to configure and test your endpoint for receiving JWT/JWS-secured messages.
The payload for JWT/JWS-secured messages is significantly different than the one used for unauthenticated messages; therefore, you must configure your push notification endpoint properly to avoid disrupting your system
-
Configure a test endpoint and verify whether it can receive and process the JWT/JWS-secured messages. To do this, go to the Test push notification settings and then provide an HTTPS test notification URL and test end date. JWT/JWS-secured messages will automatically start being sent to the specified test endpoint.
-
Optionally, you can manually send test payloads to your test endpoint by clicking Send test message and entering a test payload.
-
In the Push notifications setting, enter the URL for your production push notification endpoint.
Configuring test push notification settings
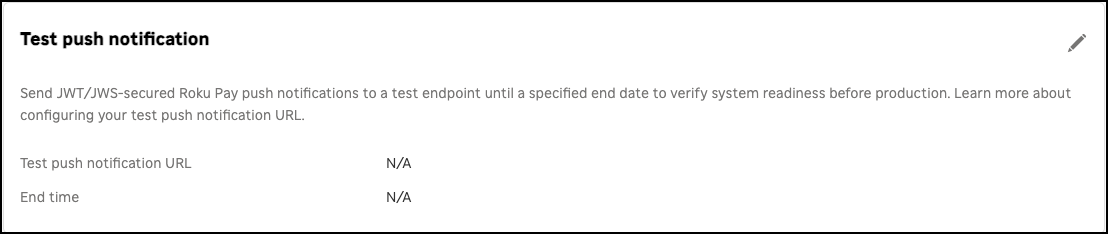
Publishers can automatically send JWT/JWS-secured Roku Pay push notification messages to a test endpoint until a specific end date. This enables publishers to verify that they can receive and process the JWT/JWS-secured Roku Pay push notification messages before sending them to their production endpoint.
To automatically send JWT/JWS-secured Roku Pay push notification messages to a test endpoint, follow these steps:
-
Click the edit icon in the upper left-hand corner of the Test push notification panel.
-
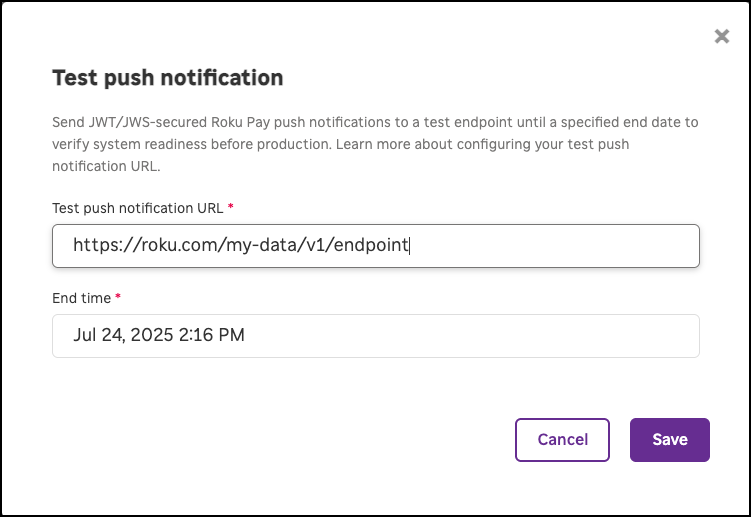
The Test push notification dialog opens.
-
In the Test push Notification URL field, enter your test push notification endpoint. The endpoint must use HTTPS.
-
In the End time field, enter when test notifications are stopped being sent to the test push notification URL.
-
Click Save.
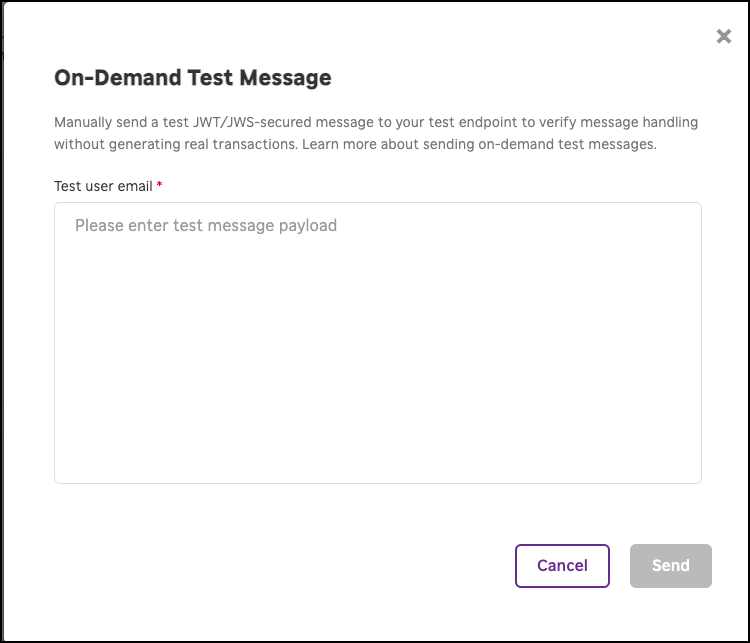
Sending test messages
Publishers can manually send a test JWT/JWS-secured message with a generic payload to the test push notification endpoint configured in the Test Configuration For Push Notification settings. This enables publishers to verify that their test endpoint can receive a JWT/JWS-secured message without generating Roku Pay transactions.
To manually send a test JWT/JWS-secured notification message to a test endpoint, follow these steps:
-
Click Send test message.
-
In the On-Demand Test Message dialog, enter any non-empty text.
-
Click Send.
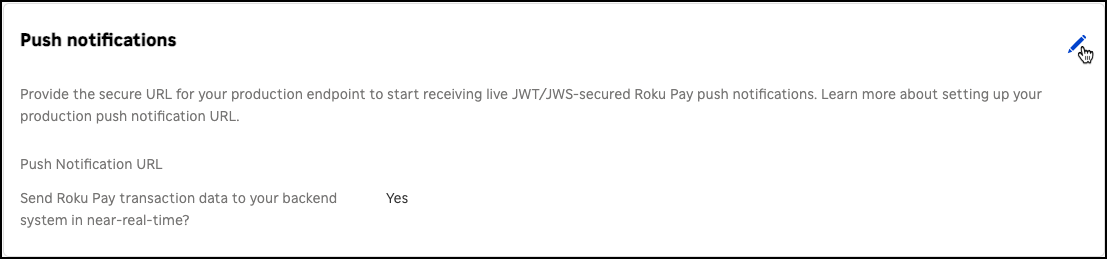
Configuring the production push notification URL
Once you have configured and tested your push notification integration, you can provide the URL of your push notification production endpoint following these steps:
-
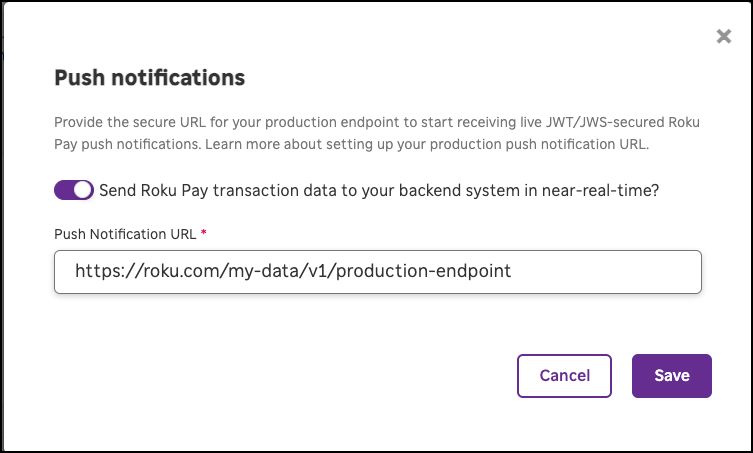
Click the edit icon in the upper left-hand corner of the Push notifications panel.
-
The Push notifications dialog opens. Enter the secure URL for your production push notification endpoint in the Push notification URL field.
-
Click Save.
See the Roku Pay push notifications reference for more information on the contents of the Roku Pay push notification messages.
If the endpoint fails for a specific message for 36 hours, Roku stops sending that notification. If the endpoint fails to acknowledge 100 notifications within 10 days, the endpoint is considered invalid and placed on a deny list.
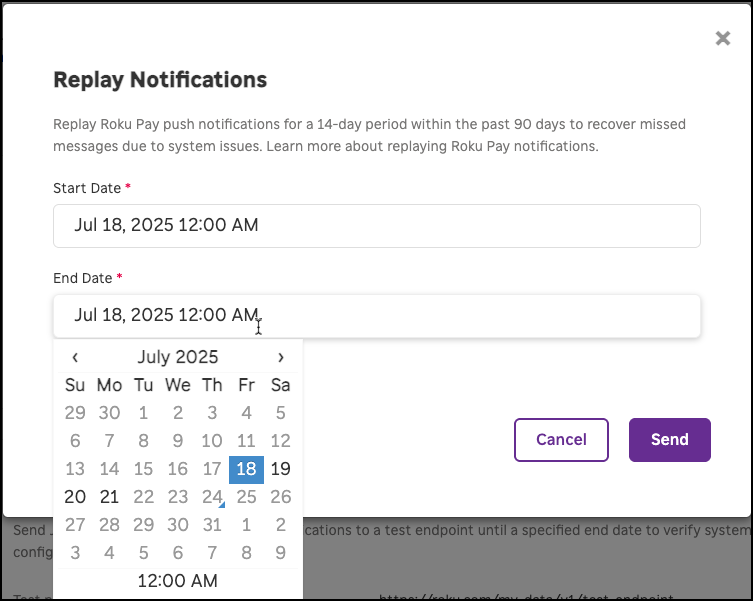
Replay notifications
Publishers can resend Roku Pay push notification messages for a specific 14-day timeframe within the past 90 days. This enables publishers to receive messages that may have been missed because their endpoint had a misconfiguration, service outage, or other error.
To resend Roku Pay push notifications, follow the steps:
-
Click Replay notifications.
-
In the Start Date and End Date boxes of the Replay notifications dialog, select the timeframe for which you want push notification replays to be send to your endpoint.
-
Click Save.
Check the timestamp of replayed messages to ensure they are processed in the correct order. Processing replayed messages out of order can result in entitlement errors (for example, the replayed messages for a subscription placed on hold and then subsequently recovered must be processed in that order or the customer may be denied access to content).
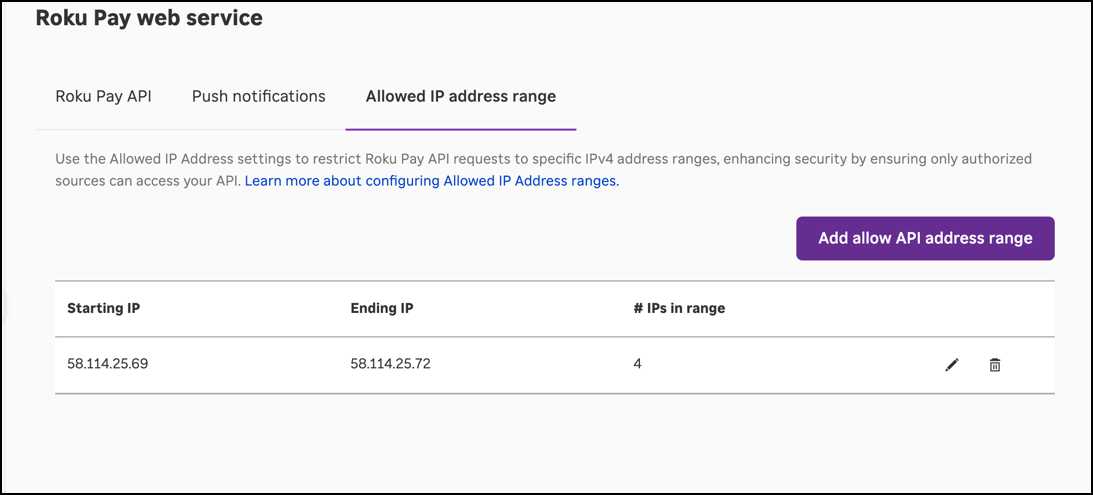
Allowed IP address range
Developers can add one or more ranges of IPv4 addresses to an allow list that specifies from where Roku Pay API calls using their API key may originate. This prevents the Roku Pay web services from accepting requests with the developer's API key outside the specified range. If an IP address range is set, a request is only valid if it comes from the specified range. If no range is specified, any request with the developer's API key from any IP address is accepted.
To set a range of allowed IP address, follow these steps:
-
Click the Add Allowed IP Address Range tab, and then click the Add allowed IP address range button.
-
In the Starting IP field, enter the starting IPv4 address of the range.
-
In the Ending IP, enter the ending IP address of your IP address range. To only allow requests to be sent from the starting IP address, leave this field empty.
-
Click Add. The starting IP address, ending IP address (if any), and number of IP addresses in the specified range are listed. Repeat steps 1–4 to add another range of IP addresses.

-
To edit an IP address range, click Edit, update the starting and/or ending IP addresses, and then click Update. To delete an IP address range, click Delete and then click Delete in the confirmation dialog.
Updated 2 months ago